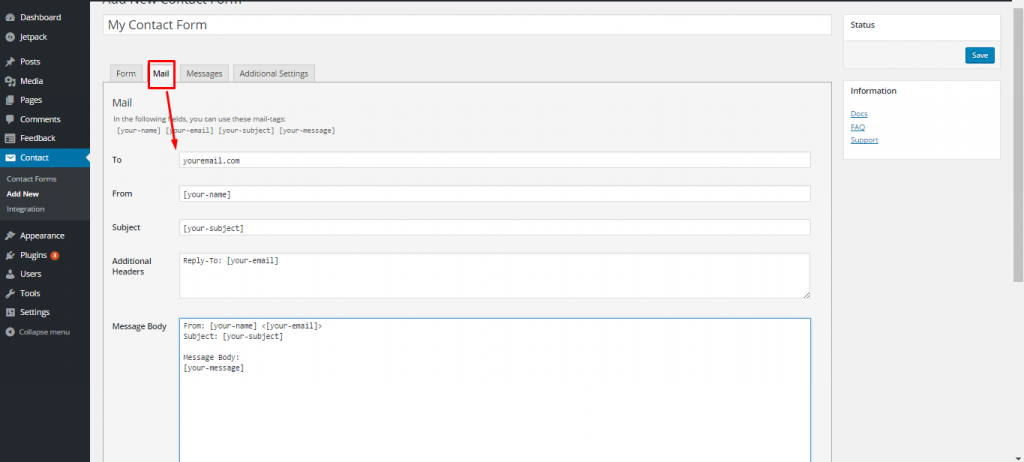
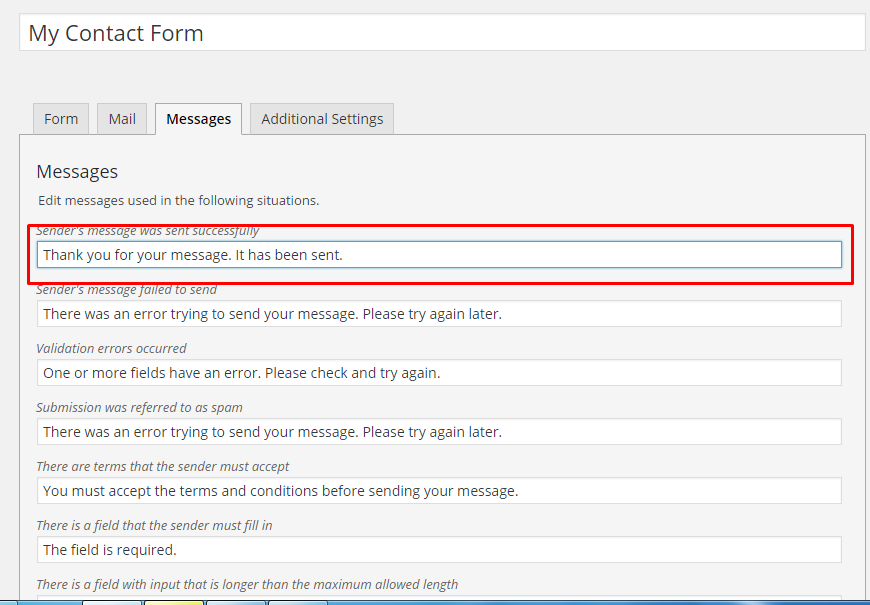
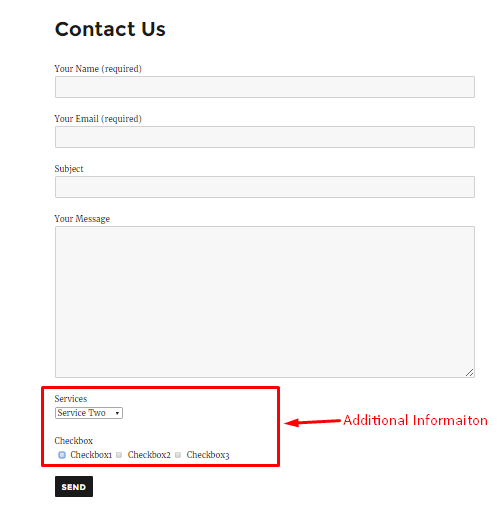
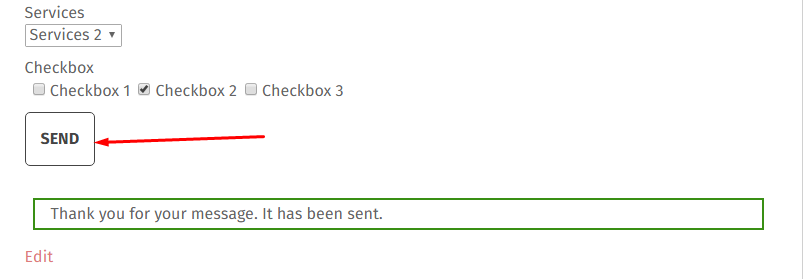
Customize WordPress Contact Form 7

Following is the step-by-step process of customization of the contact form generated by Contact Form 7.

Step 1: Naturalize Yourself with Contact form 7

Step 2: Make a New Contact Form

To make a new contact form, click Add New. The following page will appear.

Let’s add a drop-down menu to the contact form. In the top area, select the button and you can input the relevant information. Once done, click Insert Tag to add the element to the text of the form.

Next move to the body of the email. Click the Mail tab and you can exactly format the layout of the email.

The last tab to edit is the Messages tab where you can customize the messages in several conditions.

At this point, most of the customization for the form is complete. You can use this form in the contact page by pasting the associated shortcode. If there is none, you should generate one. Once you have integrated the contact form, always test it.

In this form, once the user clicks the Send button, the “thank you” message would be displayed.

You will receive an email (refer to the below screenshot) as the result of your testing.

daniel chip

For advice from experts

Please leave a phone number and we will be happy to provide you with the perfect solution

Contact us