What do you need to know to create your first website?
To run your WordPress website you will need the following:
- Choose the best website hosting for you
- Install WordPress
- Installing a template and customizing your website design
- Creating pages in WordPress
- Customize WordPress with plugins and extensions.
You must have asked yourself – what is the first thing you have to do to get your website up and running, right?
First, we will start by finding a web hosting company so that the site becomes visible and accessible to your audience anywhere in the world. Without hosting your site is just a collection of homeless files.
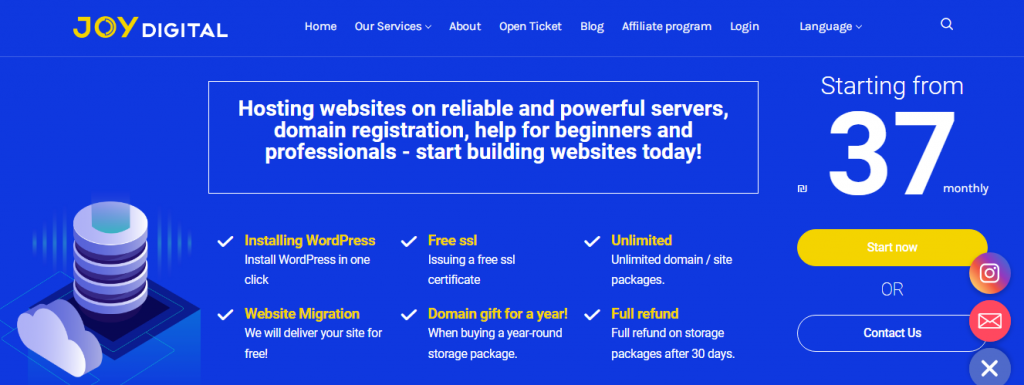
Joydigital is a web hosting service provider.
We offer shared WordPress hosting services, VPS, managed and unmanaged with different configuration options for each type of storage, we work with many leading companies: AWS, Cloudlinux, Cloudflare, Imunify 360 Litespeed Web Server, Linux, Nginx and Ubuntu.
In addition, we have the option to install WordPress, Drupal, Pretashop, Magento by our advanced system at the click of a button.
Our system allows you to save backups, update your website, duplicate it and import it from one storage to another.
As part of the storage purchase, we give you a free SSL certificate, a virus scanner and a dedicated management system to manage all your websites.
Our servers are secured by Imunify 360.
If you are looking to upgrade to a strong and fast web hosting provider, Joydigital offers to shorten and optimize your work time and move your website for free.
Have you come this far? What are you waiting for? Purchase now the perfect storage package for you!
Demo for opening website storage:
Go to our home page and choose the right package for you – for a quick transition .
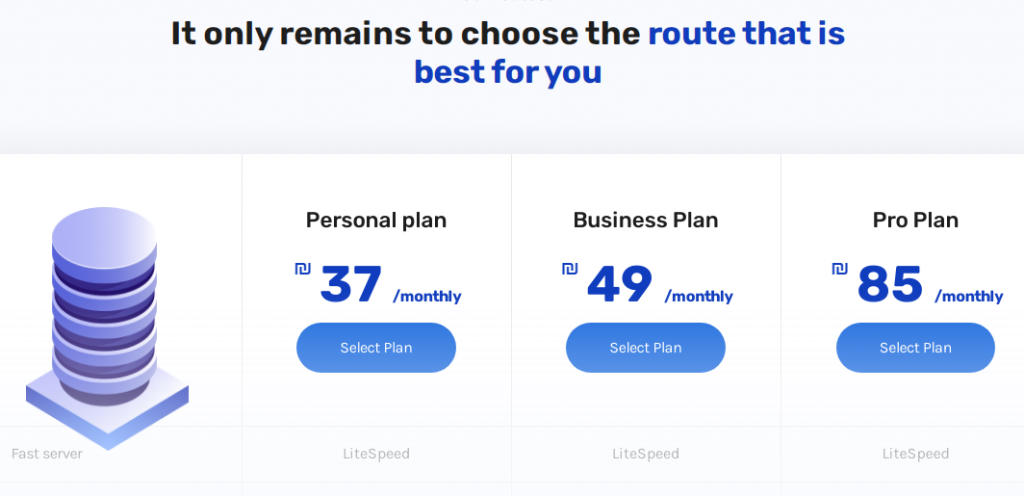
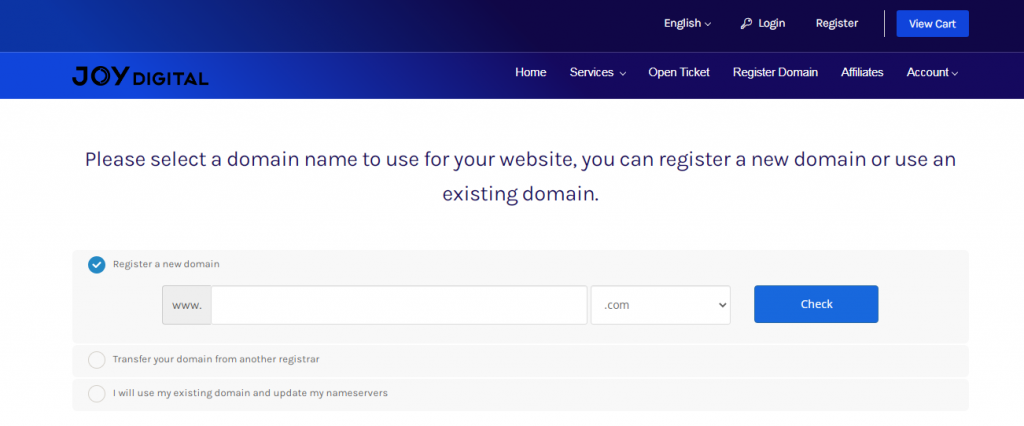
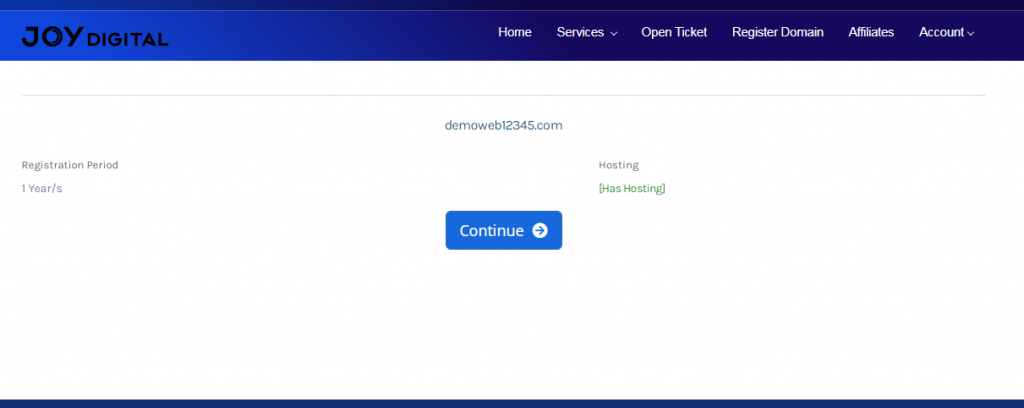
Click on “choose a route” and proceed to the next step – checking the availability of the domain.
- Domain availability

Click continue and add your program to the shopping cart.
- Watch the cart
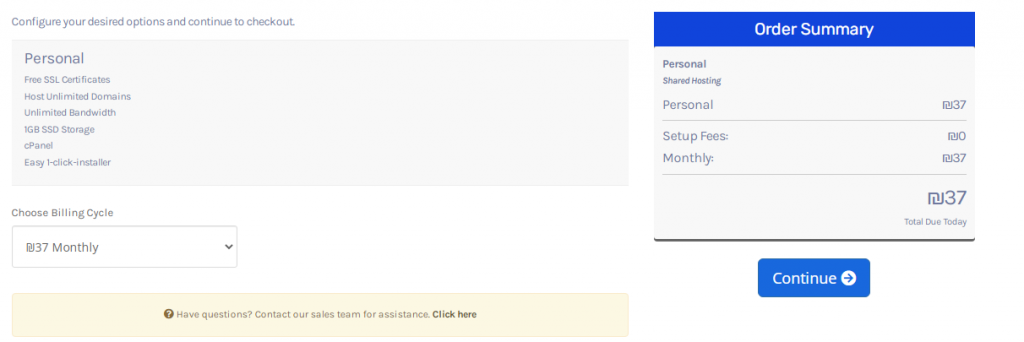
Click on continue and confirm your domain, you can choose a monthly, annual, two-year, three-year plan according to your personal needs and according to the discount you want to receive. (Each purchase for the next year adds a 5% discount – for two years 10%, for three years 15%, everything is automatically calculated in the system at the time of purchase.)
- Verify the domain
Confirm the domain and proceed to checkout
- Fill billing Information
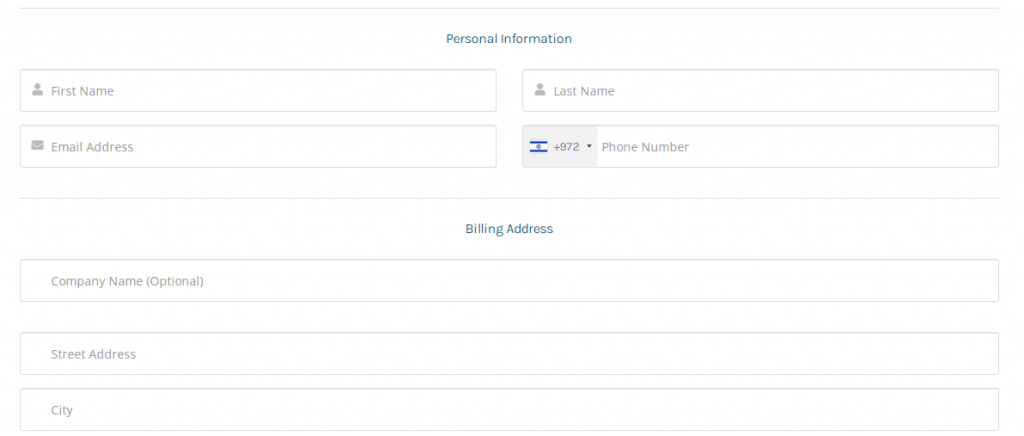
Then, add your payment information and complete the purchase.
After completing the purchase, you will go to your personal area in the Joydigital management system – now all that is left for you is to simply enjoy our services.
- Download WordPress
- Upload WordPress to your hosting account
- Create a MySQL database and user
- Configure wp-config.php
- Run the installation
- Complete the installation
The shortcut:
Here at Joydigital, we believe in optimizing our customers’ needs, which is
why we developed the one-click WordPress installation option to help you create a quick and simple WordPress installation, and provide you with a functional website ready to use.
Repairing your WordPress site in one click
1. Enter your cpanel and scroll down until you see the WordPress icon – click on it.
2. In the upper left corner of the window, click + Install this application to open the installation settings window.
Manually installing WordPress is a time-consuming process. In this article you will be able to install, backup, upgrade and replicate WordPress sites easily on Joy Digital’s servers.
What is more important to us than the visual appearance of our WordPress site?
WordPress themes are professionally designed templates that you can install on your website to change its look. By default, every WordPress site comes with a basic theme. for example:
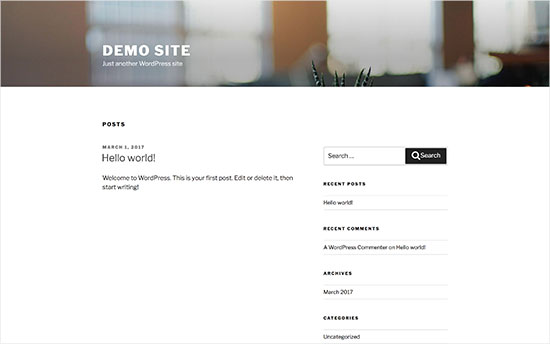
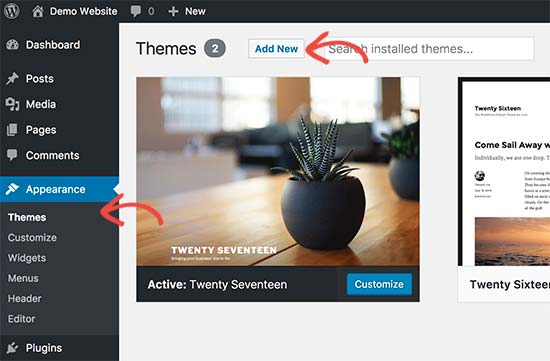
You can change your theme from within the WordPress admin system.
Visit the Appearance » Themes page and then click the Add New button.
On the next screen, you can search from free WordPress themes.
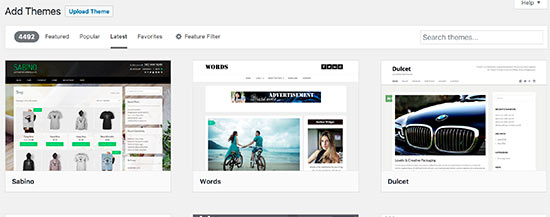
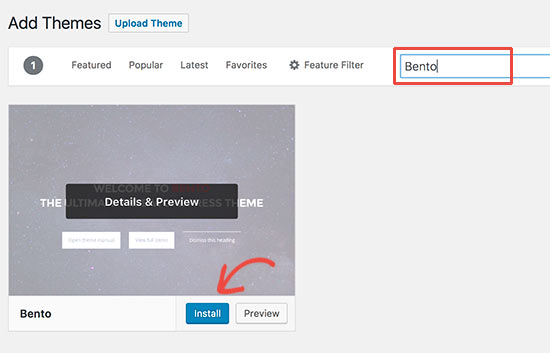
If you know the name of the free theme you want to install , you can search for it by entering its name in the search field.
WordPress will show you the assessment in the search results.
You will need to select the theme and then click the install button.
Once you’ve installed your theme, you can customize it by clicking Customize under the Appearance menu.
This will activate the theme customization parameter where you can change your design settings with a preview of your site.
Step 4 - Adding content to your website:
Start by adding these pages to your WordPress site.
If you don’t have enough content for these pages right now, don’t worry – you can always edit and update them.
You need to go to Pages » and add a new page in the WordPress admin area.
This will bring you to the page edit screen, which will look similar to this, depending on your theme:
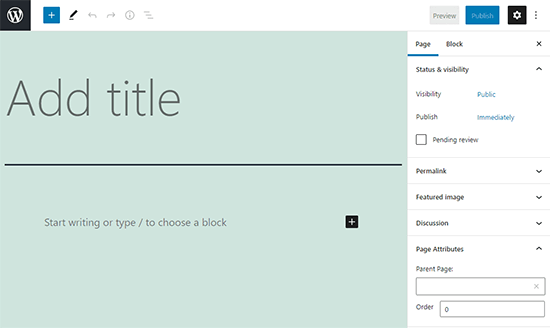
First you need to provide a title for your page, for example ‘Home Page’. You can then add content in the text editor below. You can add text, links, images, embed videos, audio, etc. After adding content to your page, you can click the publish button to display it on your website. You can repeat the process by adding additional pages for different parts of your site. For example, an about page, a contact page, and a blog page to display blog posts. Now let’s add some blog posts as well. Go to Posts » Add a new article in your WordPress admin area, where you will see a screen like you saw before when adding pages.
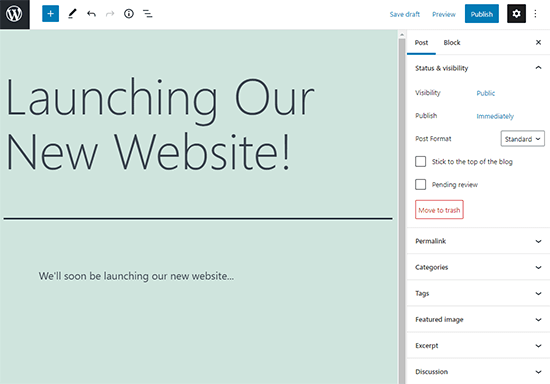
You can add a title to the post and then add content in the visual post editor.
You’ll also notice some additional options in the sidebar like post formats, categories, and tags.
You can click the save button to save your post as a draft or click the publish button to make it visible on your site.
Setting up a static main page
You need to visit the Settings page » select the WordPress admin dashboard.
Under the ‘Home Page Views’ option click on the static main page and then select the ‘Pages’ you created earlier for your home and blog pages.

Don’t forget to click the ‘Save Changes’ button at the bottom of the page to save your changes.
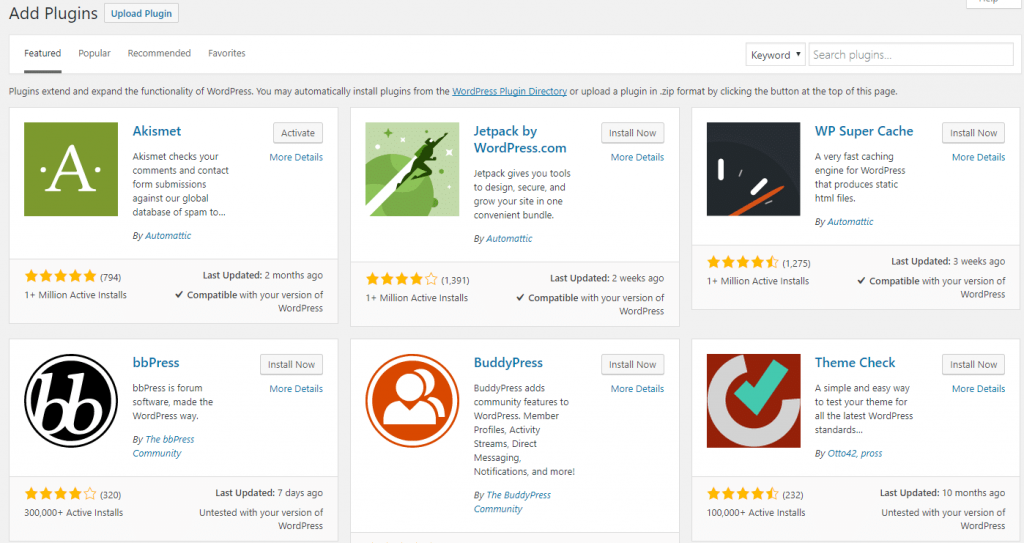
Step 5 - Installing plugins in your WordPress:
WordPress plugins are like apps for your WordPress website.
They allow you to add features and customizations to your WordPress site.
Consider adding a contact form, photo galleries, etc.
You can install plugins from the WordPress dashboard by clicking on the plugins page.
You can install plugins from the WordPress dashboard by clicking on the plugins page.
Step 6 - Security
Please click here for complete guidance on securing your website
Step 7 - Your website is ready!
For training on the implementation of Google Analytics for the purpose of measuring the number of visitors to your website , click here .


