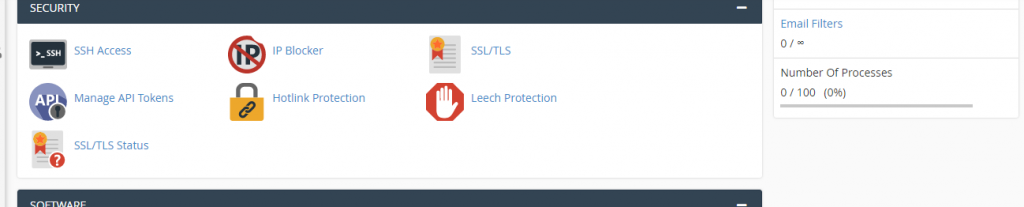
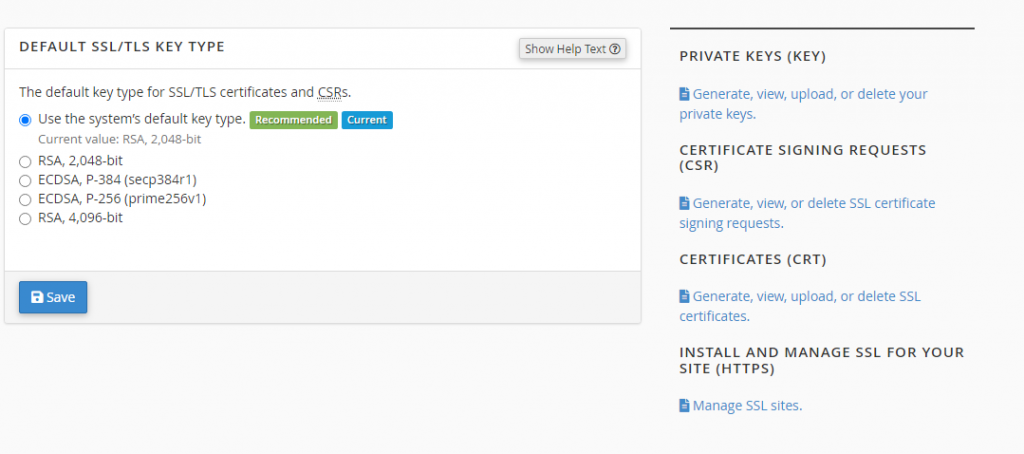
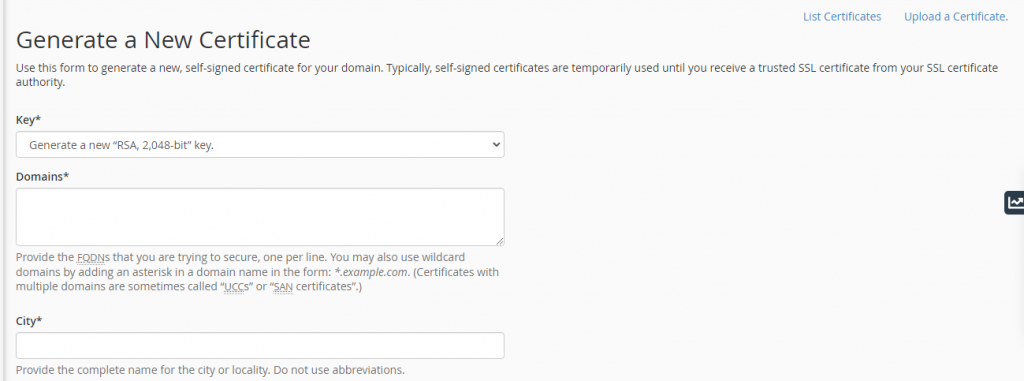
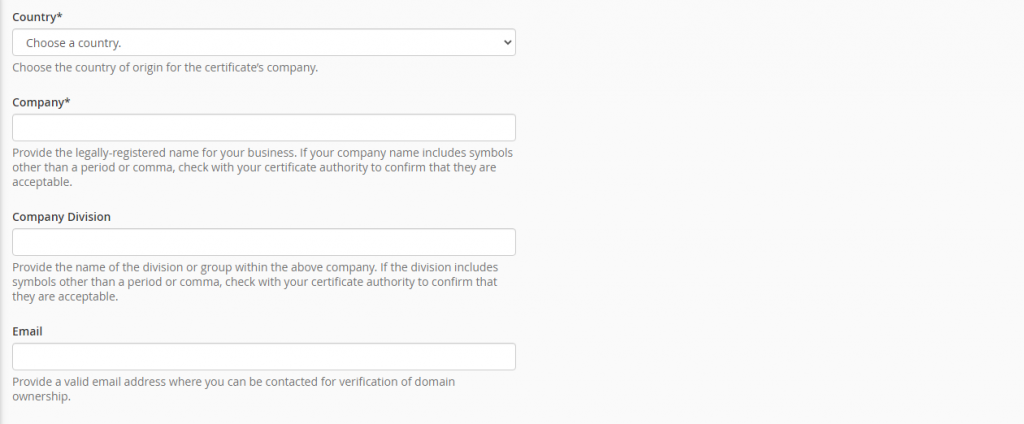
How to install ssl on hosting ?


Different web hosts and servers have different installation process. We’ve covered the installation process for cPanel, one of the most used servers. All the other types of servers have more or less similar installation process. If you are using a different server,

To start out: 


Go to cPanel  

Step 1

 Go to SSL/TSL under SECURITY 

Step 2
click on SSL/TLS

Click on Generate, view, upload, or delete SSL certificates. Under Certificates (CSR) 

click on generate .
After generating the certificate 

  • Locate Paste the certificate into the following text box under ‘Upload a New Certificate.’ Copy-paste the code from the *yourdomain*.crt file which you have received from the Certificate Authority in the email. You can also download it from your account directly. Do include the header and footer (—–BEGIN CERTIFICATE—– and —–END CERTIFICATE—–) in the code.  
  • Click on Save Certificate or Upload.  

OR 

  • Under ‘Choose a certificate file (*.crt)’, click on ‘Choose File’ and upload .crt file that CA sent you in email. Click on ‘Upload Certificate’. 


Part 2 

Now go back to the previous menu 

  1. Click on Manage SSL sites under ‘Install and Manage SSL for your site (HTTPS).’ 
  2. Select the domain for which the SSL has been issued from the drop-down menu.  
  3. At this time the system will automatically fetch and fill the Certificate: (CRT) and Private Key (KEY) fields.  
  4. Copy- paste the CA Bundle (chain of intermediate certificates) provided by CA into the box under Certificate Authority Bundle (CABUNDLE) 
  5. Click on the “Install Certificate”  
  6. And it’s done! The SSL certificate is now installed on the server.  
  7. Now, next step is to enable SSL in WordPress by switching your site URLs from HTTP to HTTPS. 

daniel chip

For advice from experts

Please leave a phone number and we will be happy to provide you with the perfect solution

Contact us