How to Add Free Live Chat in WordPress (The Easy Way)
Are you looking for a solution to add free live chat in WordPress?
Adding the live chat functionality to your website lets you interact with your visitors. You can answer their questions and solve their problems in real-time.
This helps you to convince your potential customers to purchase your product. It also allows you to provide faster support to your existing customers, so they stay loyal to your brand.
In this article, we will explain how to add live chat in your WordPress site, the easy way.

Why Use Live Chat on Your WordPress Site?
In this age of instant gratification, customers want to get instant answers to their questions. This helps them make a quick decision to purchase a product or service.
Live chat has a satisfaction level of 73% where as email satisfaction is 61%, phone is at 44%, and SMS satisfaction rate is at 41%.
Aside from being a powerful sales tool, you can also use live chat to provide support to your existing customers which can help turn your loyal customers into brand ambassadors.
That being said, let’s take a look at how to easily add a free live chat in WordPress.
Adding Live Chat to WordPress
While there are many live chat solutions available for WordPress, we’ll be using LiveChat Inc. for the sake of this tutorial.
To get started, head over to the LiveChat website to create a new account.
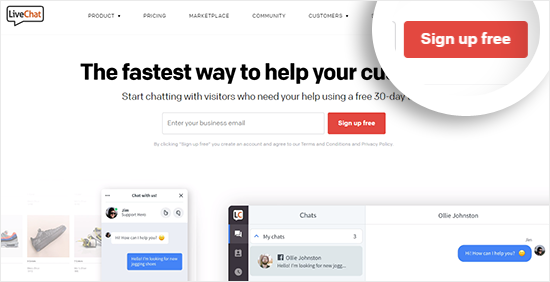
Next, you need to click on the Sign up free button located at the top-right corner of the screen.
This will take you to a new page where you have to provide some basic information like your full name, email address, and password.
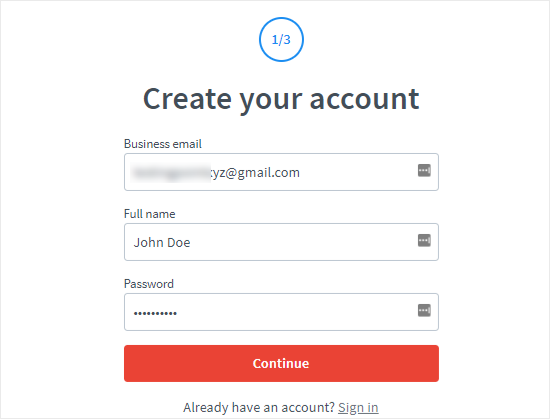
Click on the Continue button to move forward.
In the next step, you have to provide the URL of your website and the purpose for creating the LiveChat account. It can be for support, sales, or both.
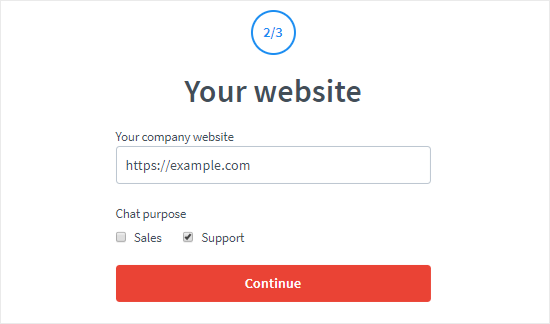
Once done, click on the Continue button to proceed forward.
Now, you have to provide some information about your business. You can select the company size, industry of your business, and type of audience.
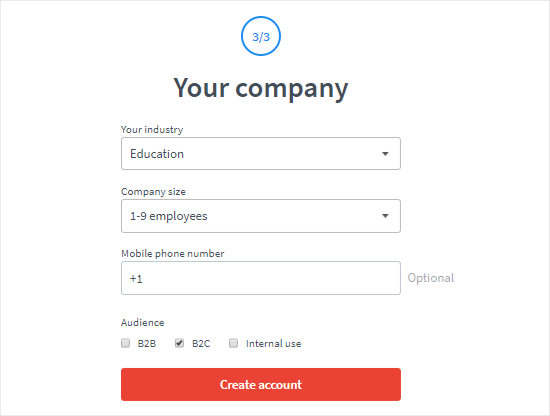
Once you’ve filled in the required information, you can click on the Create Account button to complete the process.
Customizing the Appearance of the Live Chat Window
Your LiveChat window needs to grab user’s attention while blending in with the rest of your website design. LiveChat allows you to make changes to the appearance of the chat window to match your needs.
To do that, you need to click on the Settings link on the left sidebar of your LiveChat account area.
This will take you to the Customization page where you can style the live chat window and see your changes applied in real-time.
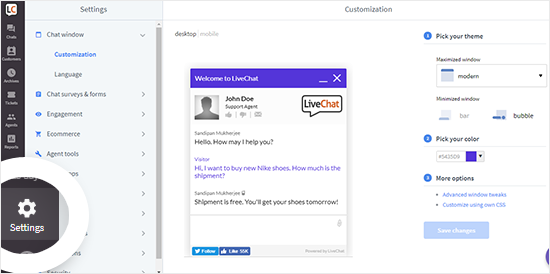
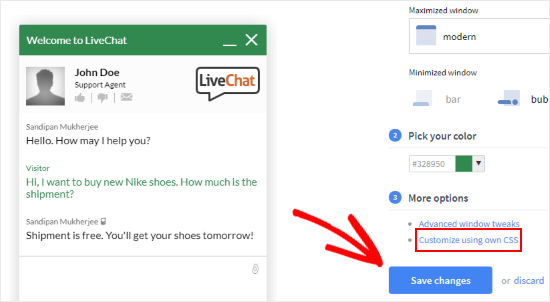
On the right side of your screen, you can select a theme for the maximized window and the minimized version. You can also pick a color for the chat window to match it with your website’s colors.
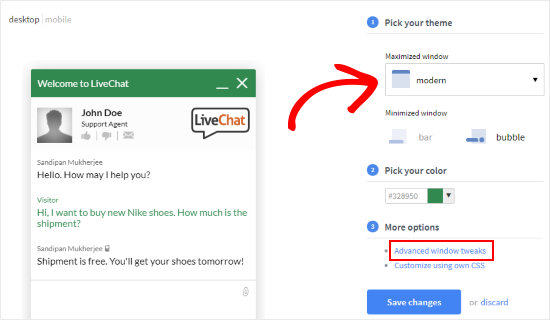
you need to click on the Advanced window tweaks link.
This will take you to a new page where you need to click on “Upload your logo”.
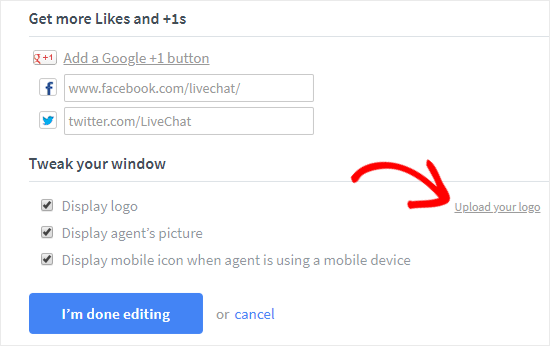
You can also add the links to your social media pages. Once done, click on the “I’m done editing” button.
If you want to add custom CSS, then you need to click on the “Customize using own CSS” link.
Once you are finished with the customization, click on the Save Changes button to store the settings.
Setting up Live Chat on Your WordPress Website
LiveChat comes with a free WordPress plugin that allows you to add it to your website within a few minutes.
Go ahead to install and activate the LiveChat plugin. You can check out our beginner’s guide on how to install a WordPress plugin for help.
Upon activation, head over to LiveChat » Settings from the left sidebar of your admin panel.
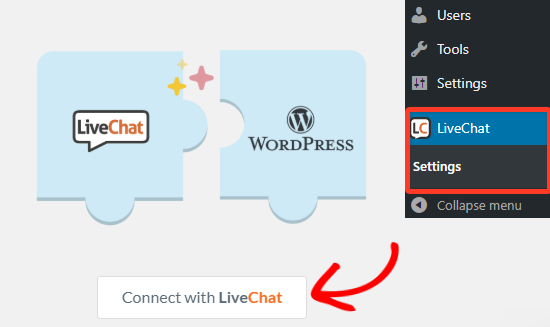
On the Settings page, you’ll have to connect to the LiveChat account by clicking on the “Connect with LiveChat” button.
This will open up a popup window where you need to click on the Sign in link and then log in to your LiveChat account.
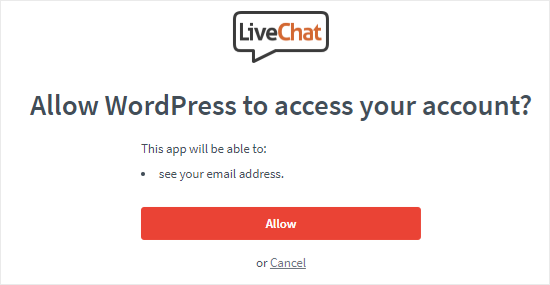
Next, WordPress will ask for your permission to access your LiveChat account from the admin area. Click on Allow to complete the process.
Now you’ll find some new options on the settings page.
You may click on the “Hide chat on mobile” toggle box to display live chat on desktop only.
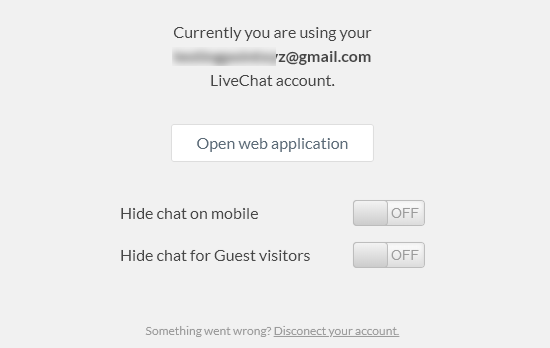
You can also hide the chat feature for guest visitors to test the software.
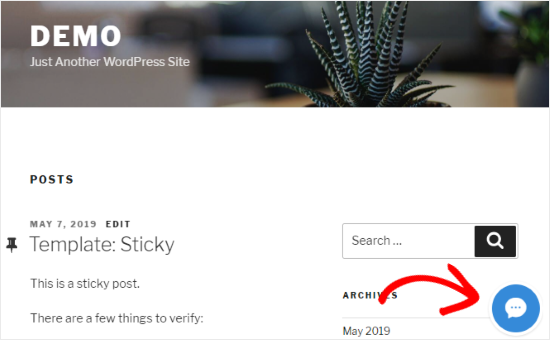
Now you can visit your website to see the Live Chat bubble added to the bottom-right corner of your screen.
